How to Control Unity with ChatGPT (Codex CLI)
Step-by-step setup guide for ChatGPT Plus users
Why is setup required?
ChatGPT doesn't support local MCP connections, so a slightly more complex setup is needed. Unlike Claude Desktop or Cursor, one-touch setup isn't available, but following this guide will get you up and running.
Before You Start
- 1Synaptic AI Pro package imported into Unity
- 2ChatGPT Plus subscription or higher
- 3Node.js 18 or later installed(nodejs.org)
Import UnityPackage
Import the purchased UnityPackage file into Unity.
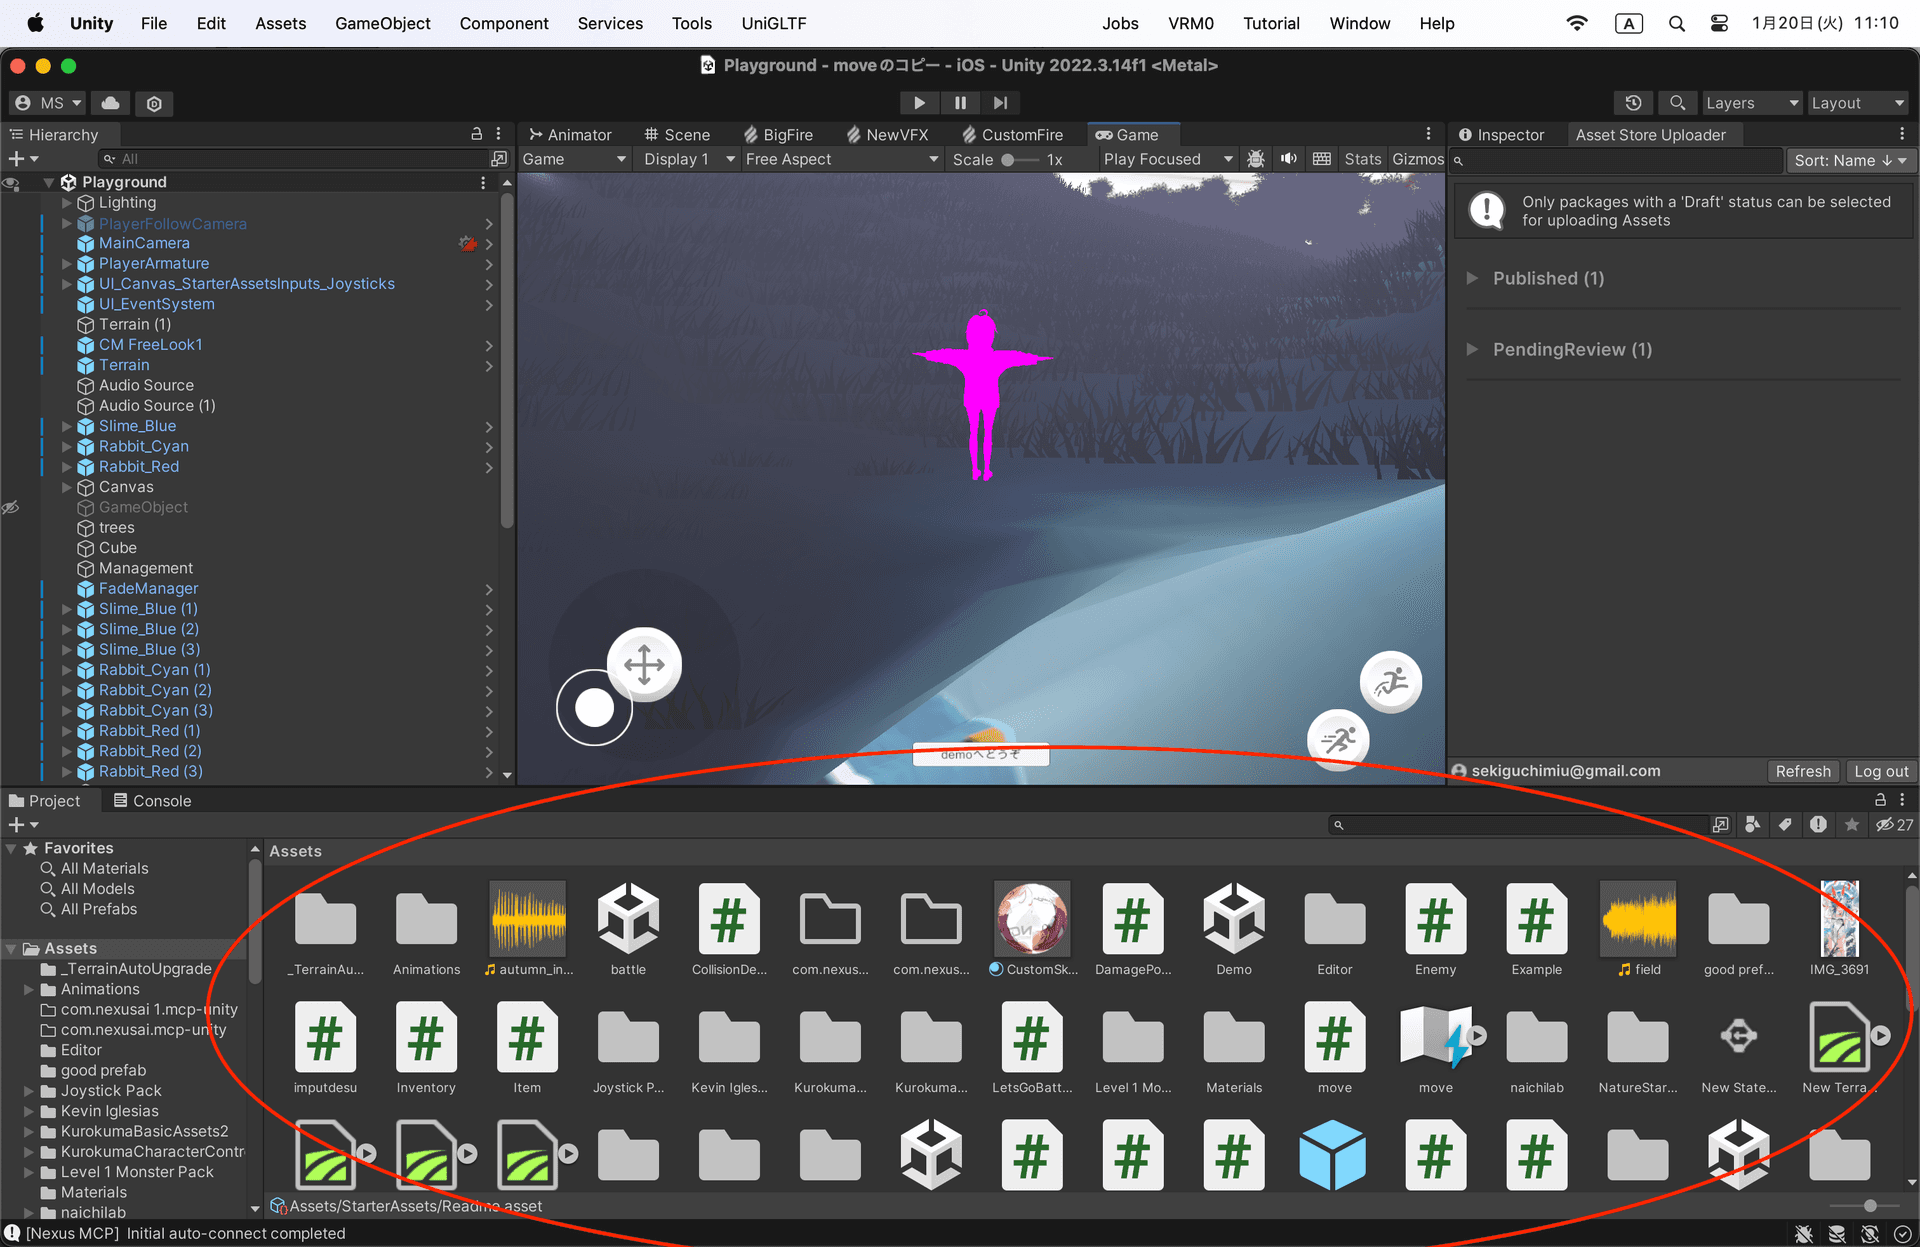
- Open your Unity project
- Drag and drop the UnityPackage file into the Assets folder
- Click 'Import' when the import dialog appears
Install Node.js
Skip if already installedNode.js is required to run the Synaptic MCP server. It's a JavaScript runtime that anyone can use - just install and you're ready.
Check if installed
node -vIf a version number appears (e.g., v20.10.0), you're good. If you see "command not found", installation is required.
Installation steps
- nodejs.org Download the LTS version from nodejs.org
- Run the installer (default settings are fine, just click Next)
- After installation, close and reopen your terminal before proceeding
Install Codex CLI
Install Codex to use ChatGPT from your terminal.
Install command:
npm install -g @openai/codexVerify installation:
codex --versionIf a version number appears, you're good
Important: How to run Codex
After installation, run Codex with just "codex" - NOT "openai codex".
codexCorrect (use this)openai codexWrong (won't work)Launch Codex
After installation, launch Codex from your terminal.
codexFirst-time launch requires signing in with your ChatGPT account.
Model Selection Tip
Models with 'codex' in the name are code-optimized but may have weaker conversation abilities. If things aren't working well, try changing the model.
/modelto view and change modelsRecommended: Latest general-purpose models like gpt-5.2 may work more reliably.
Reasoning Level
Models like gpt-5.2 let you select reasoning level. It's a tradeoff between performance and speed.
Low (fast) → Medium (default) → High → Extra High (accurate)If responses feel slow, try Low. It's sufficient for simple tasks.
How to Use (6 Steps)
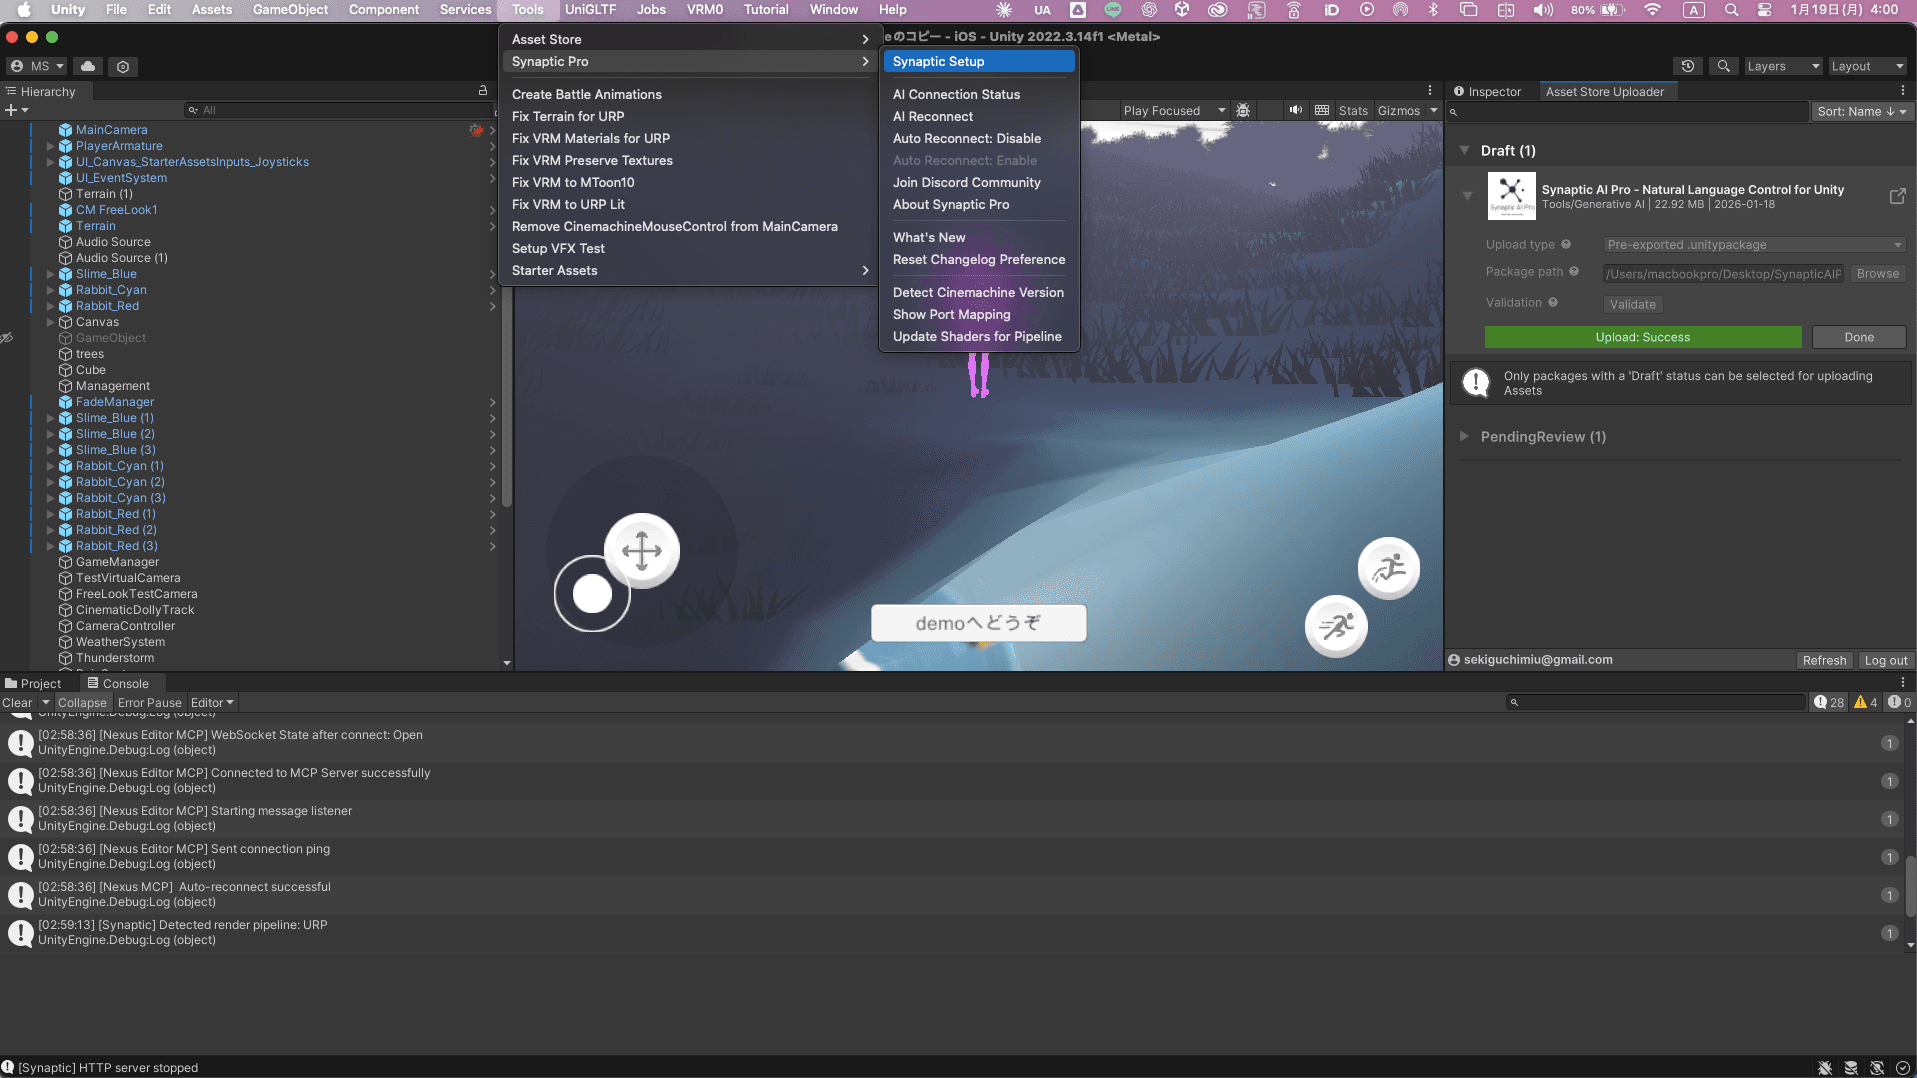
Open Setup Window
From Unity menu: Tools → Synaptic Pro → Setup Window
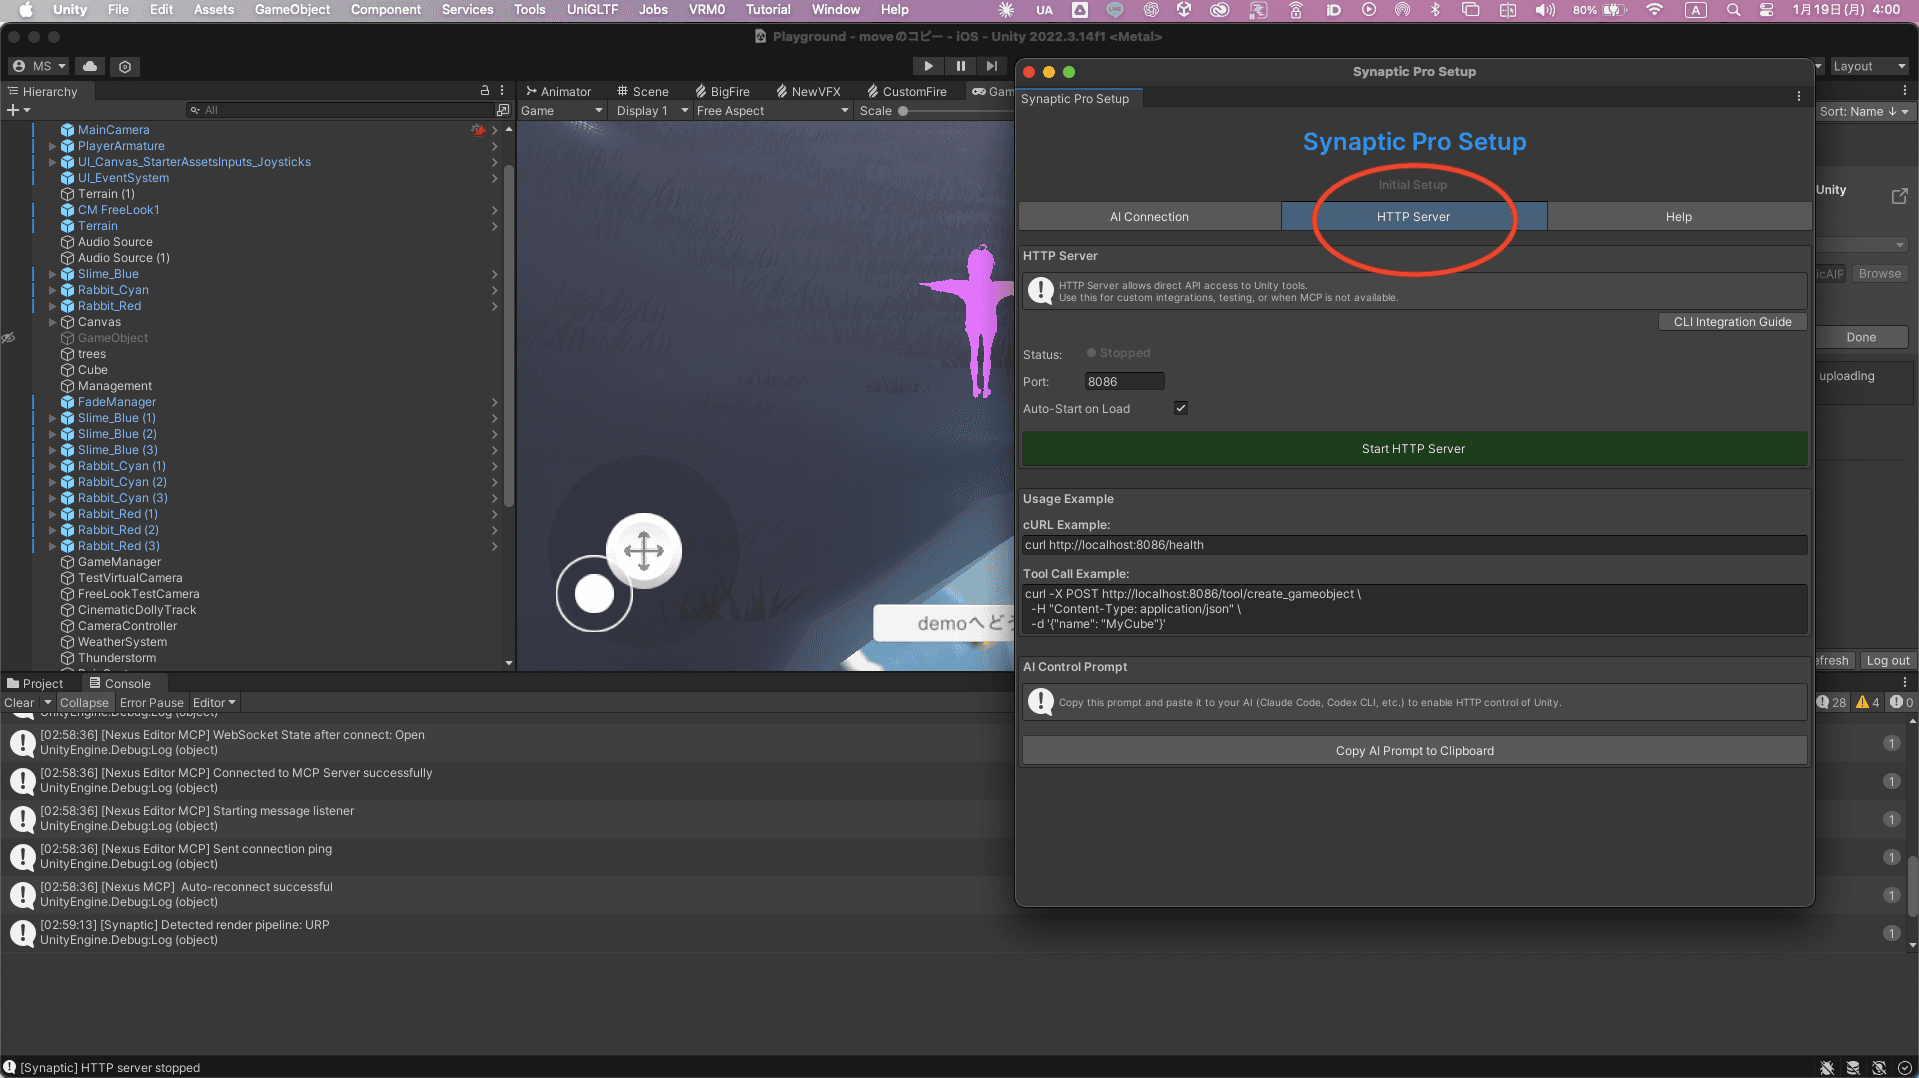
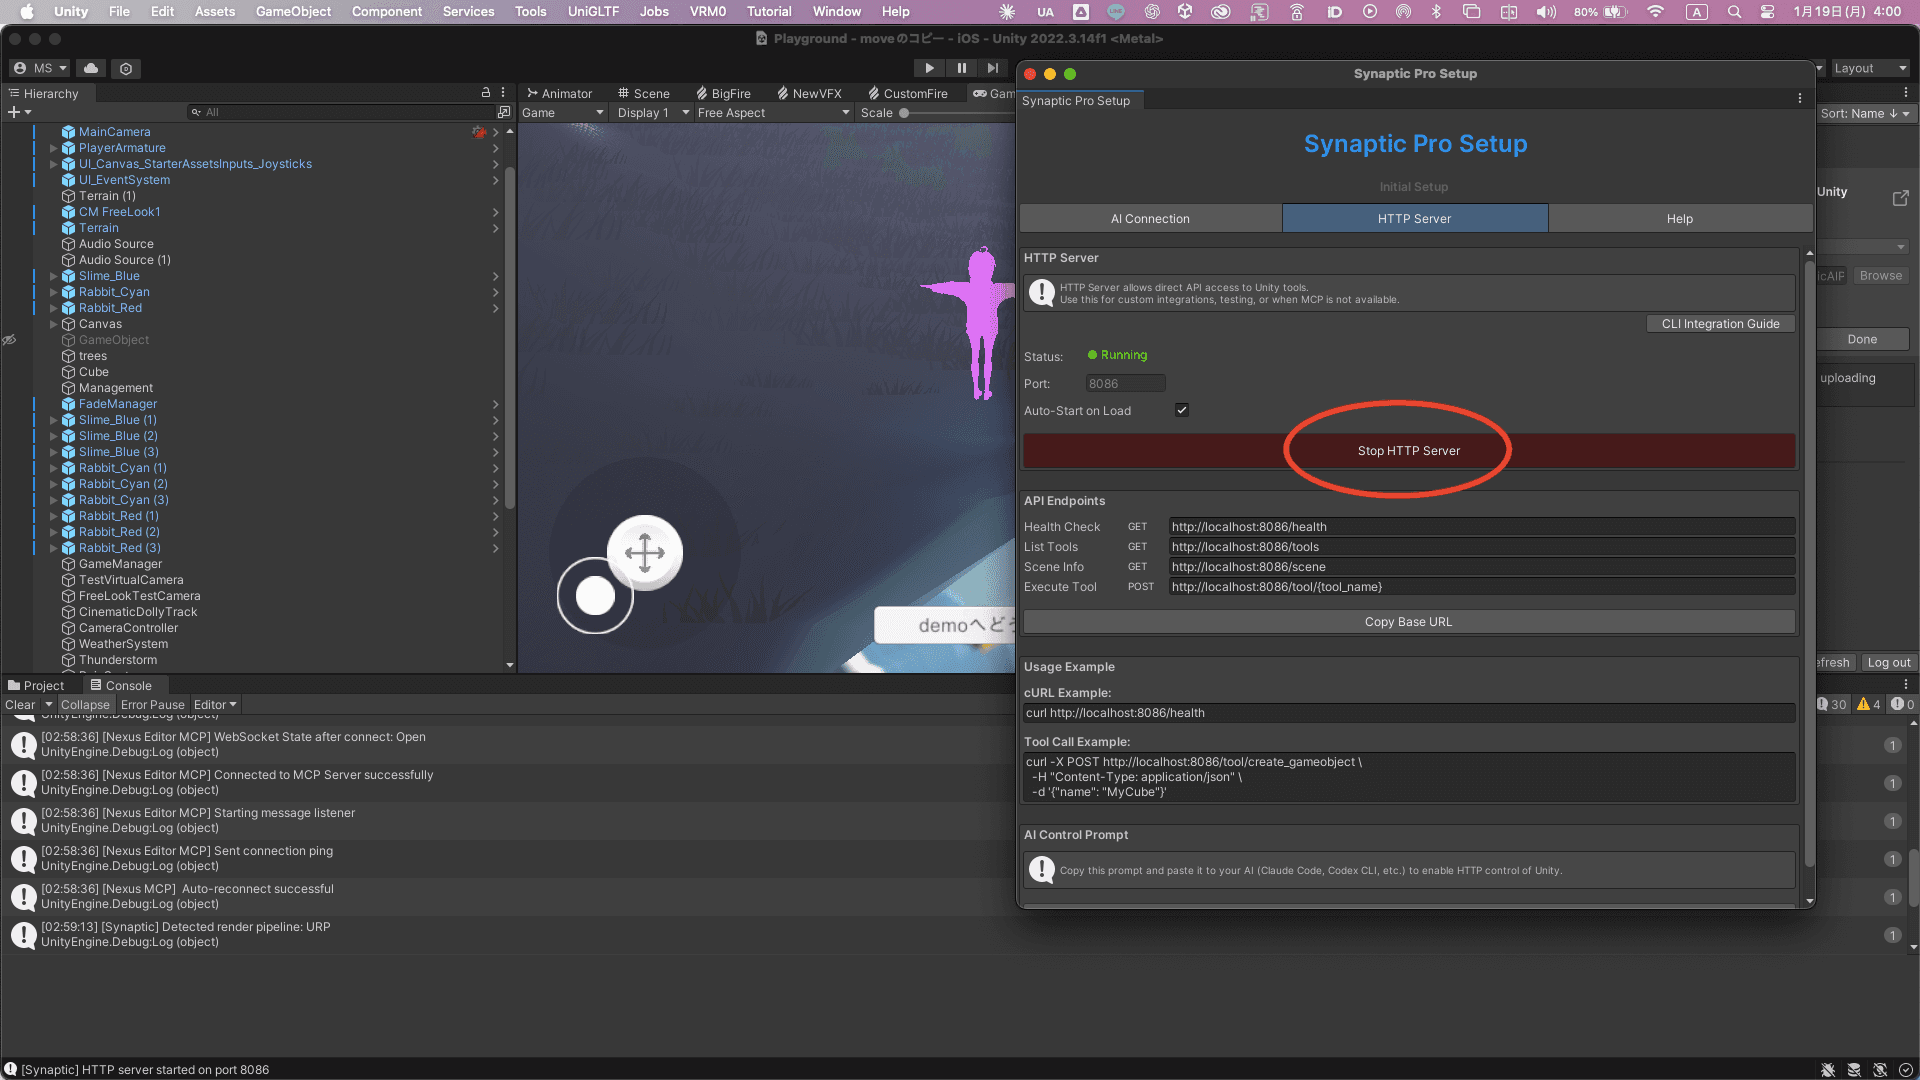
Switch to HTTP Tab
Click the HTTP Server tab to switch
Copy Prompt
Click Copy Prompt Template button
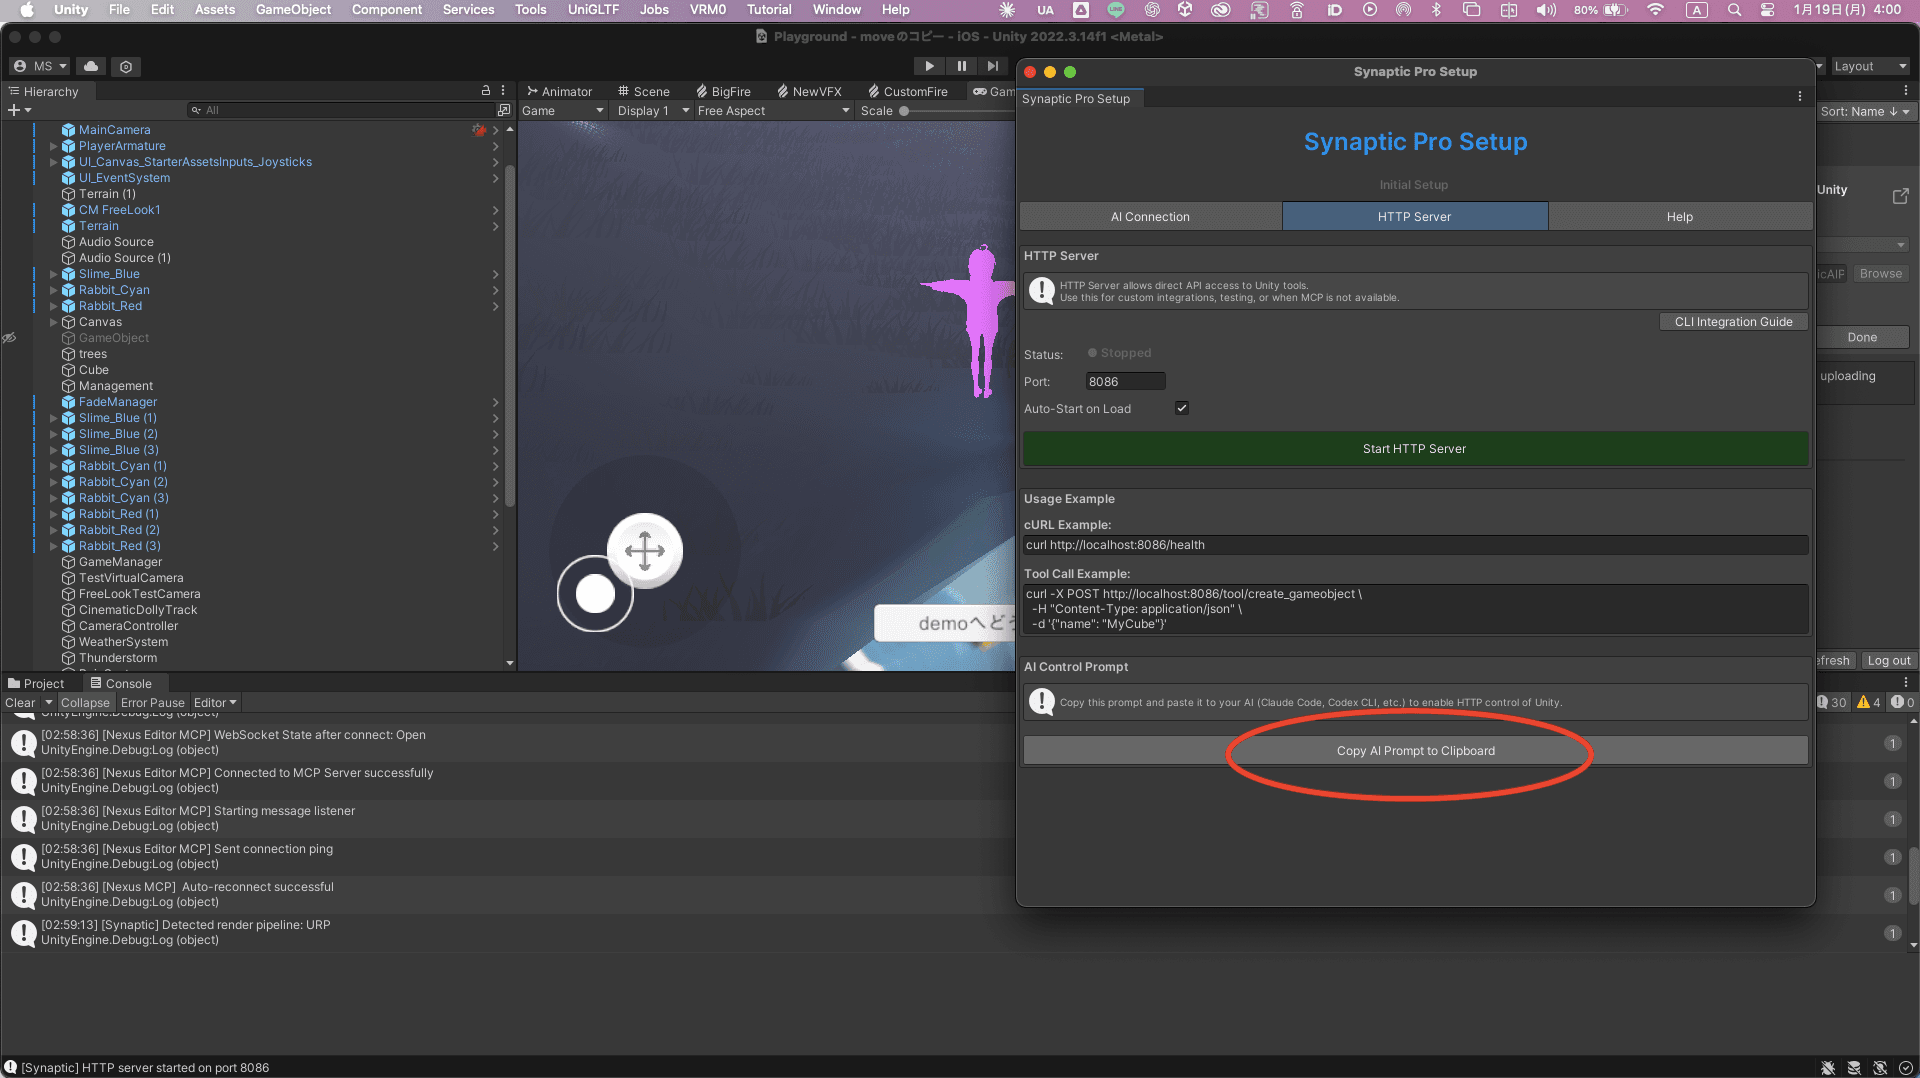
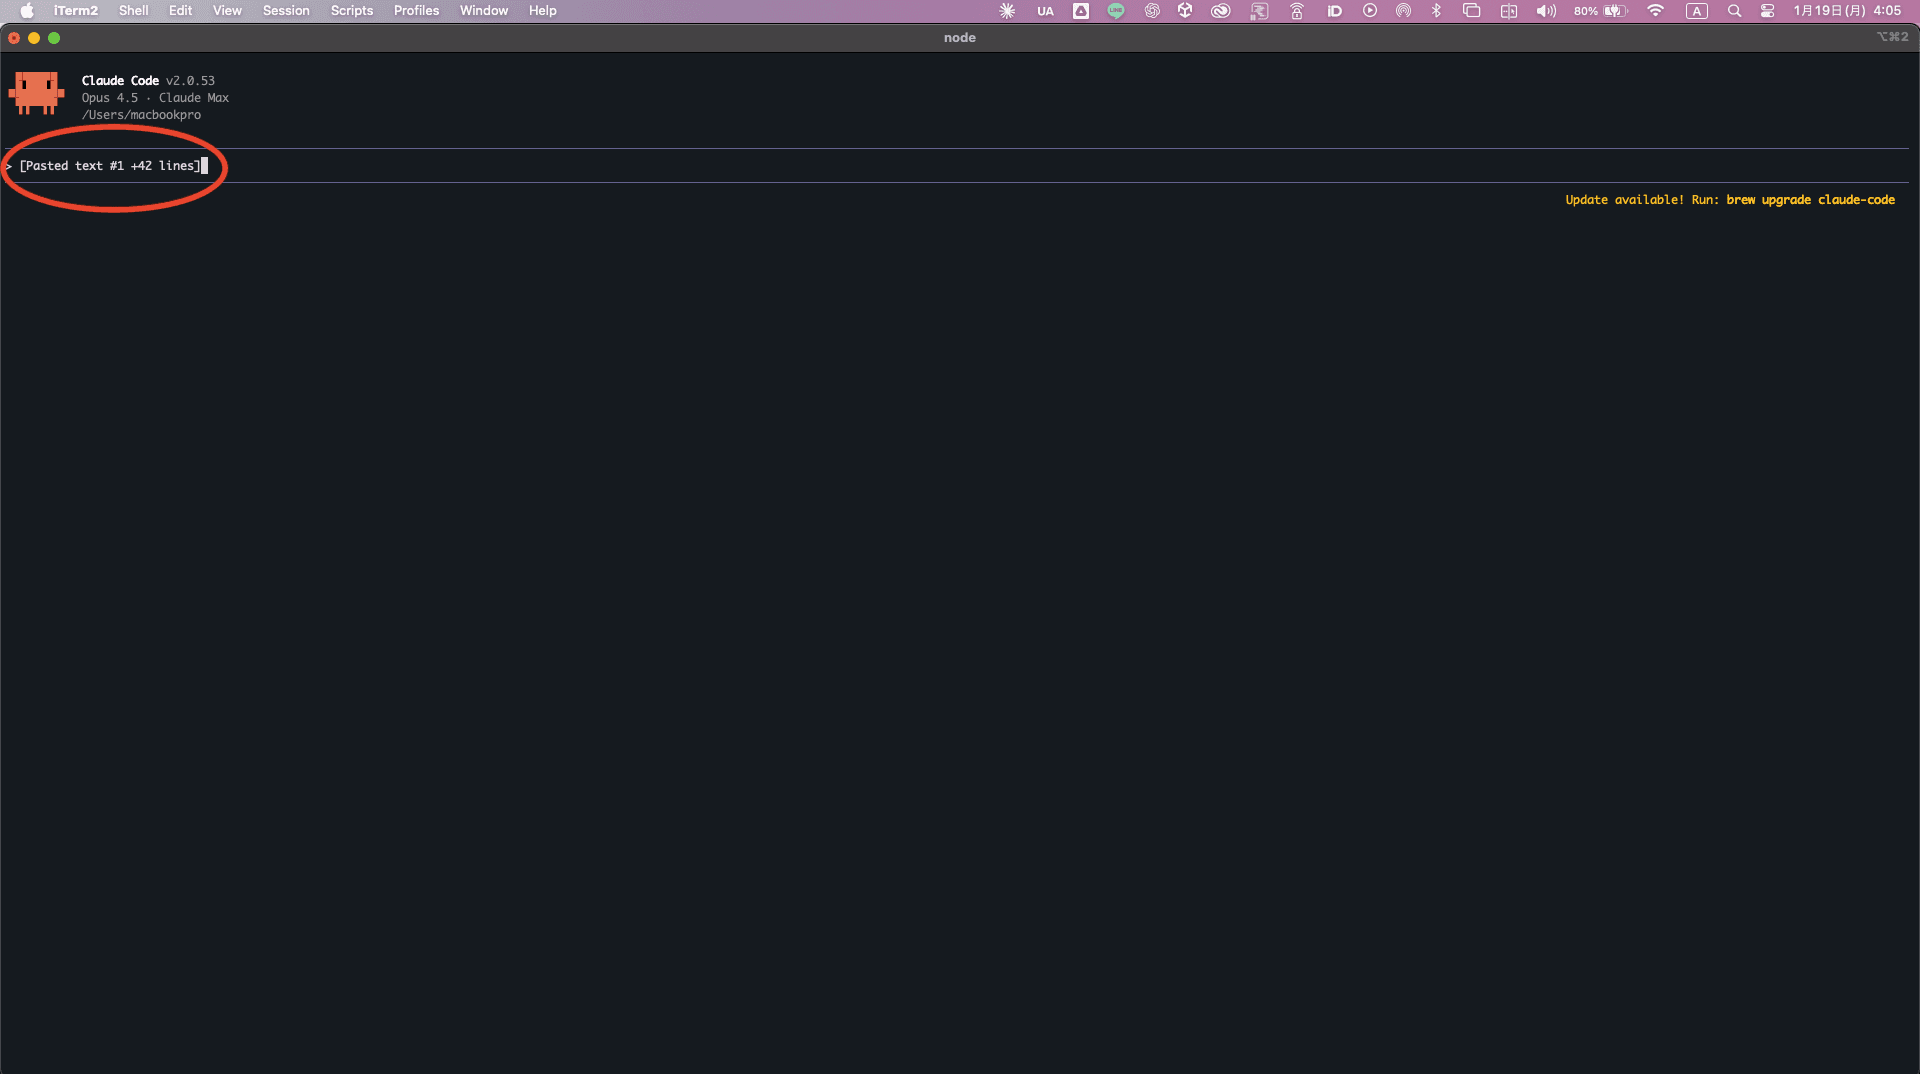
Paste to CLI
Paste the prompt to Codex
Key Point
Since it just hits HTTP endpoints, CLI can run from any directory. The server is started from Unity, so no cd commands needed in CLI.
Now just talk to the AI. Try saying "create a red cube" to test it out.
💡Pro Tip: Automate with Skills
Using Codex CLI's Skills feature, you don't need to paste the template every time.
How to set up:
- Copy prompt from Unity Setup Window's HTTP tab
- Tell Codex: "Create a skill with this content"
- From now on, the template is applied automatically
Thanks: Synaptic AI user
Start HTTP Server
Click Start HTTP Server button and you're done!
You're all set!
Connected to Unity! Now you can control it with just conversation. Try saying "create a red cube" to test it out.
Troubleshooting
'node: command not found' error
Node.js is not installed. Please install from nodejs.org.
Codex stuck loading
Check if your ChatGPT Plus subscription is active. Also check OpenAI status page for outages.
'Connection refused' error
Make sure Unity Editor is running and Synaptic AI Pro is installed.